
Designing the Ultimate Garden Workshop: Key Considerations

Creating Your Dedicated Workspace
A garden workshop provides a perfect retreat for DIY enthusiasts, hobbyists, or anyone needing a dedicated space to work, create, or build. Unlike a basic storage shed, a workshop must be designed with comfort, efficiency, and safety in mind.

Whether you’re crafting furniture, fixing bikes, or working on creative projects, smart workshop planning ensures your shed becomes a productive, long-lasting asset. From choosing the right size to optimising your shed workshop layout, lighting, ventilation, and workbench setup, this guide walks you through all the essential considerations.
Ready to get started? Here’s how to design the ultimate DIY workshop shed.
1. Size Matters: How Much Space Do You Need?
Before you buy or build, assess your needs carefully.
-
Project Type: Think about the nature of your work. Are you woodworking, painting, or storing large tools? This will influence the amount of space you need.
-
Room to Move: It’s not just about fitting tools. Make sure there’s enough space to maneuver safely around machinery and materials.
-
Think Long-Term: If you expect your workshop to evolve, it’s smart to plan extra space for future tools or expanded projects.
-
Common Sizes: Popular sizes start at 8x6ft, but 10x8ft or 12x8ft sheds offer more flexibility and comfort for most users.
2. Layout and Workflow: Optimizing Shed Workshop Layout
A thoughtful shed workshop layout can drastically improve efficiency and comfort.
-
Create Zones: Divide your shed into functional zones—tool storage, workbench area, materials storage, and machinery space.
-
Logical Flow: Arrange these zones based on how you work. For example, store materials near the entrance and place your main work area in the center.
-
Avoid Clutter: Keep the floor as clear as possible. Wall-mounted storage and shelving can help.
-
Tool Access: Frequently used tools should be easily accessible without constant bending or searching.
3. Power and Electrical Setup
Most workshops will require electricity to operate tools and lighting.
-
Hire a Pro: Electrical installation should always be done by a qualified electrician to ensure safety and compliance.
-
Plan for Plenty: Install more outlets than you think you’ll need. Strategically place them near workstations and tool zones.
-
Dedicated Circuits: Larger tools may need dedicated circuits to prevent overload.
-
Safety Features: Include RCD (Residual Current Device) protection and make sure all wiring is properly enclosed.
4. Lighting: Bright, Safe, and Functional
Proper lighting is critical to working comfortably and safely.
-
Natural Light: Choose a design with plenty of windows. Natural light reduces eye strain and creates a more pleasant workspace.
-
General Lighting: Install overhead lighting such as LED panels or fluorescent tubes to brighten the entire shed.
-
Task Lighting: Add adjustable lamps or focused spotlights above the workbench and other key areas.
-
Light Quality: Use daylight or cool white bulbs (4000K–6500K) for true color rendering and minimal eye fatigue.
5. Ventilation: Fresh Air for a Healthier Workshop
A poorly ventilated shed can quickly become uncomfortable—or even hazardous.
-
Basic Ventilation: Include opening windows to allow fresh air in and help control dust and fumes.
-
Cross Ventilation: Position windows on opposite sides of the shed for improved airflow.
-
Powered Solutions: Consider an extractor fan if your work creates significant dust or fumes (like woodworking, soldering, or painting).
-
Dust Management: Woodworkers should also consider a dedicated dust collection system to maintain air quality and cleanliness.
6. The Workbench: The Heart of the Workshop
Your workbench is where most of the magic happens—make it count.
-
Sturdy and Spacious: Choose a solid, stable bench that can handle the demands of your projects without wobbling.
-
Ergonomics: The bench should be at a comfortable height to avoid strain during long sessions.
-
Smart Placement: Position the bench near natural light, outlets, and frequently used tools.
-
Built-In Storage: Look for workbench ideas that incorporate drawers, shelves, or pegboards for maximum organization.
-
Material Matters: Solid wood and steel frames are ideal for heavy-duty use and long-term durability.
Conclusion: A Space Built for Productivity
Designing your garden workshop is an investment in your productivity, comfort, and creativity. By focusing on smart workshop planning, you can transform a simple shed into a fully equipped workspace tailored to your needs.
From choosing the right size to refining your shed workshop layout, lighting, ventilation, power, and the all-important workbench, each element contributes to creating a space where great work happens.
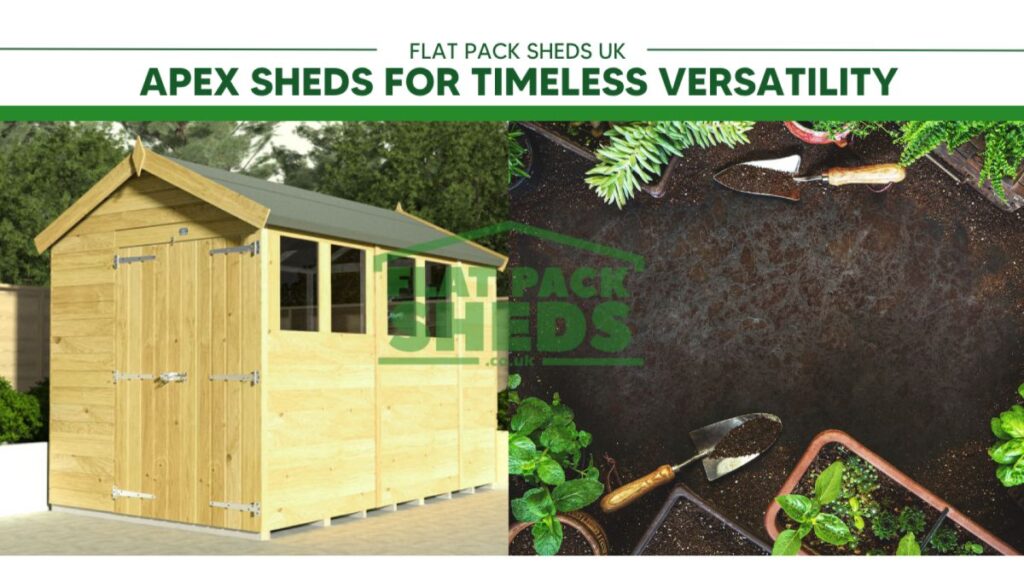
Looking to bring your ideal DIY workshop shed to life? Browse the durable and spacious garden workshops available at Flat Pack Sheds and start building your perfect workspace today.


