
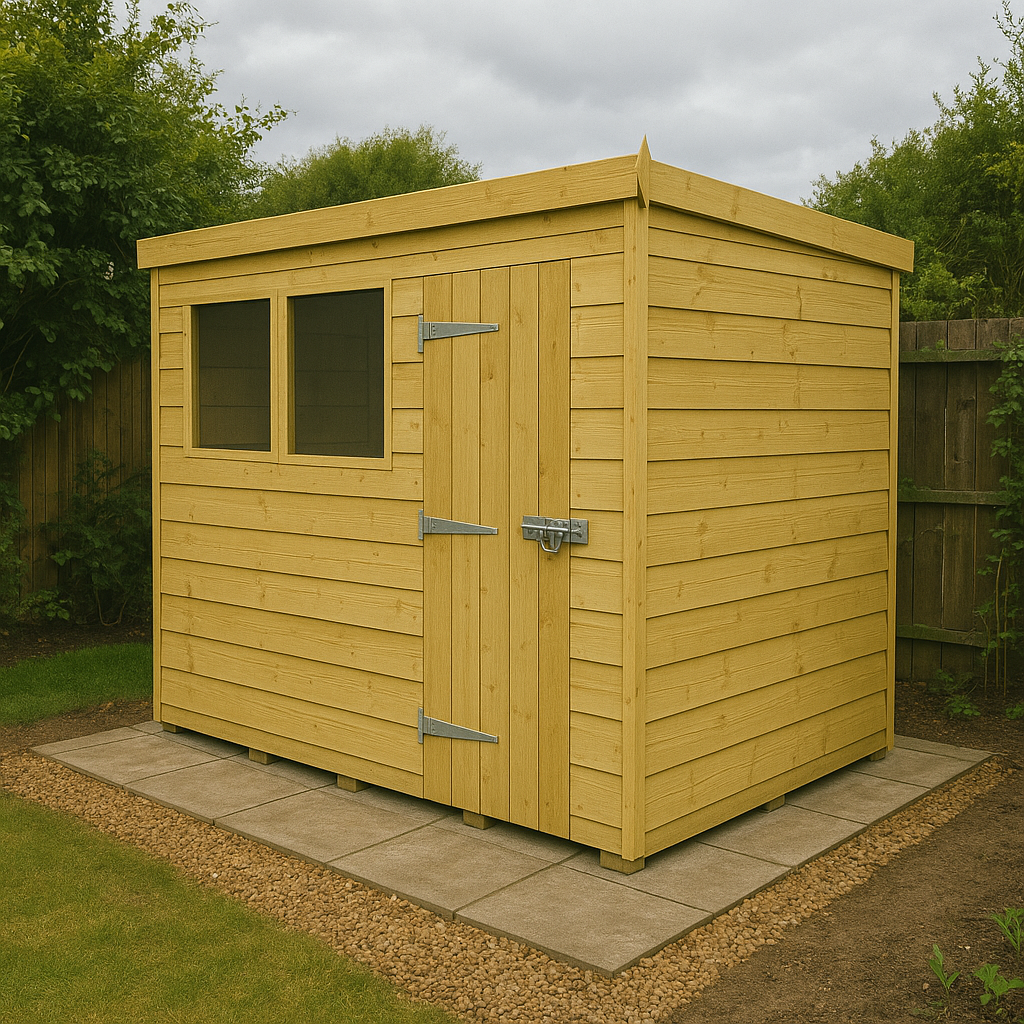
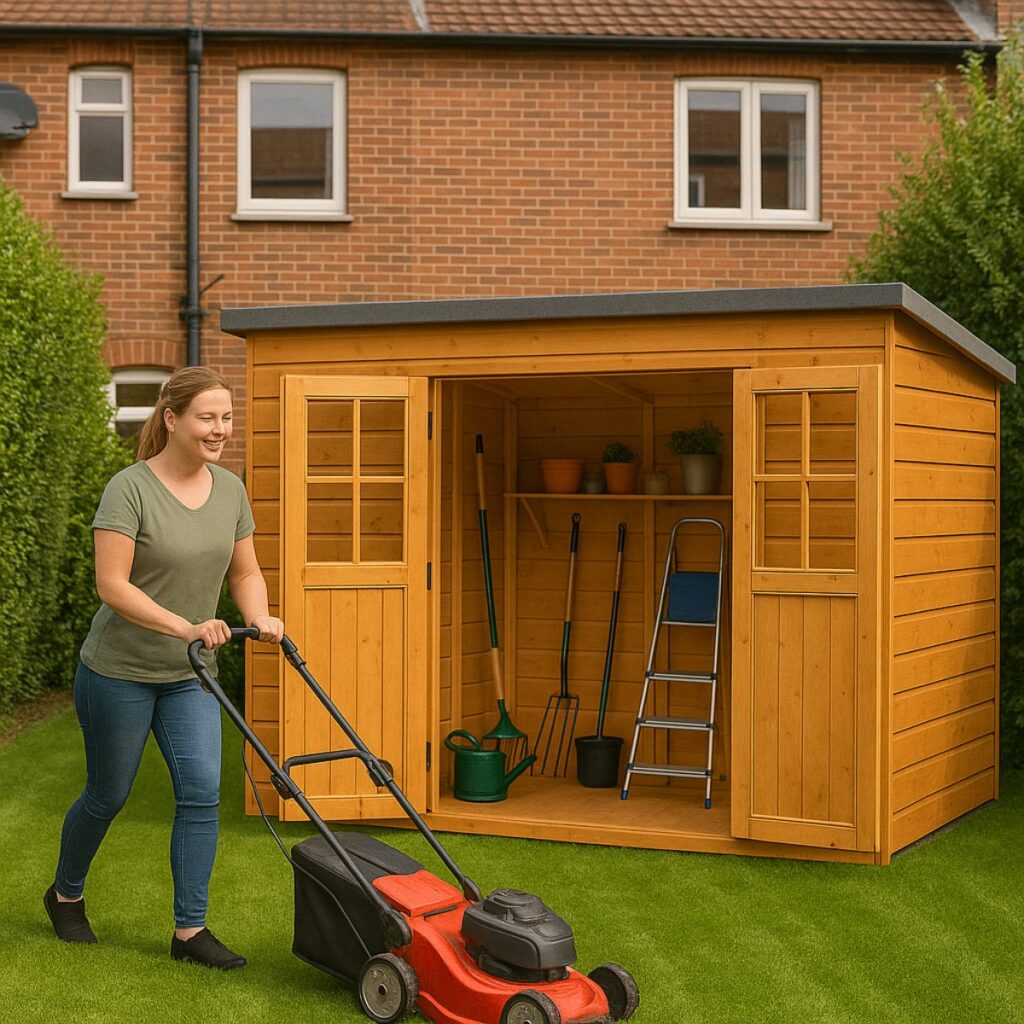
So, you’ve chosen a stylish and space-efficient flat pack pent shed! These modern sheds are designed for relatively straightforward DIY assembly. With careful preparation and by following the instructions methodically, you can successfully build your new garden storage or workspace. Remember that a solid, level base is paramount for any shed assembly guide – get this right, and the rest of the process becomes much smoother.
This guide provides a general step-by-step overview of pent shed installation. Always prioritize the specific manual included with your Flat Pack Sheds model, as construction details can vary. Let’s get started on your DIY pent shed project!
Step 1: Base Preparation – The Crucial First Step
As with any shed, a level and solid foundation is essential for a pent shed.
Choose & Level: Select your base type (concrete, paving slabs, timber frame, plastic base) and ensure the ground is perfectly level where the shed will sit.
Construct Base: Build the base slightly larger than the shed’s footprint, ensuring it’s square and level in all directions using a spirit level.
Consider Drainage: Ensure the base allows water to drain away from the shed, especially considering the single-direction runoff from a pent roof.
Curing Time: Allow concrete bases to cure fully before starting assembly.
Step 2: Unpack and Component Check
Before lifting any tools:
Unpack & Organize: Lay out all panels and components near the base.
Inventory Check: Carefully check all parts against the provided list. Report any missing or damaged items immediately to Flat Pack Sheds.
Read Manual: Familiarize yourself completely with your specific shed’s instructions, paying close attention to the orientation required for the pent roof slope.
Step 3: Floor and Wall Assembly
Now the structure begins to take shape.
Assemble Floor: Secure the floor panels to the floor joists (if separate) and place the completed floor onto the prepared base.
Erect Walls: Start with a corner, usually involving the highest wall panel. Secure the first panel to the floor, then attach adjacent panels, ensuring they are vertical (use a spirit level) and securely fixed to the floor and each other. Pay close attention to the correct orientation for the roof slope – the walls will likely have different heights.
Step 4: Installing the Single-Slope Roof
This is unique to pent shed assembly.
Install Roof Beam(s): Secure any internal roof support beams as indicated in the instructions.
Position Roof Panel(s): Carefully lift the roof panel(s) into place. Ensure the correct overhang on all sides (front, back, and sides).
Secure Roof: Fix the roof panel(s) securely to the top of the wall panels and any internal beams, following the screw patterns in your manual.
Step 5: Fitting Doors and Windows
Adding the functional elements.
Assemble & Hang Door: Assemble the door if necessary, then hang it in the frame, ensuring it opens and closes smoothly. Secure hinges and fit handles/locks.
Install Windows: Fit the glazing (glass or styrene/acrylic) into the window frames and secure with beading or clips, ensuring a weatherproof seal.
Step 6: Applying the Roof Covering (Felt)
Crucial for weatherproofing your pent shed.
Cut Felt: Measure and cut the roofing felt if not pre-cut, allowing for overlaps and edge folds.
Apply Felt: Start at the lowest edge of the pent roof slope. Lay the felt flat, ensuring it overhangs the edges slightly. Secure with clout nails along the edges.
Overlap: Work upwards towards the highest edge, ensuring each new strip generously overlaps the one below it (typically 75mm) to prevent water ingress.
Secure Edges: Fold the felt neatly over the roof edges and secure underneath or cover with fascia boards.
Attach Fascia/Bargeboards: Fit any provided fascia boards to the roof edges to cover the felt ends and provide a neat finish.
Step 7: Final Checks and Treatment
The finishing touches.
Tighten Fixings: Check all screws are secure but not overtightened.
Inspect Seals: Ensure windows and doors are sealed against the weather.
Clean Up: Remove all packaging and debris.
Apply Treatment: Within 14 days (or as specified), apply a quality wood preservative to protect your new shed, paying special attention to end grains.
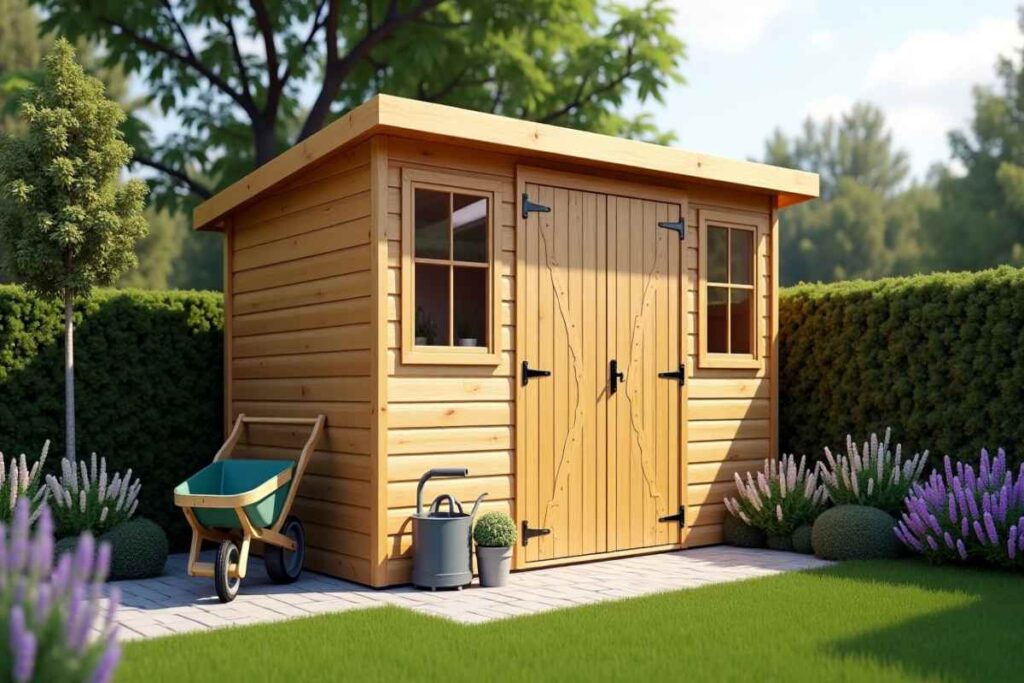
Conclusion: Your Modern Shed is Ready!
By following these steps and your specific manual carefully, your flat pack pent shed assembly should result in a sturdy, weather-resistant, and stylish garden building. The pent shed installation The process, while requiring attention to detail (especially regarding the roof slope and base), is well within the capabilities of a competent DIYer.
Enjoy your new modern shed! For assembly support or to view our full range, visit Flat Pack Sheds.

