

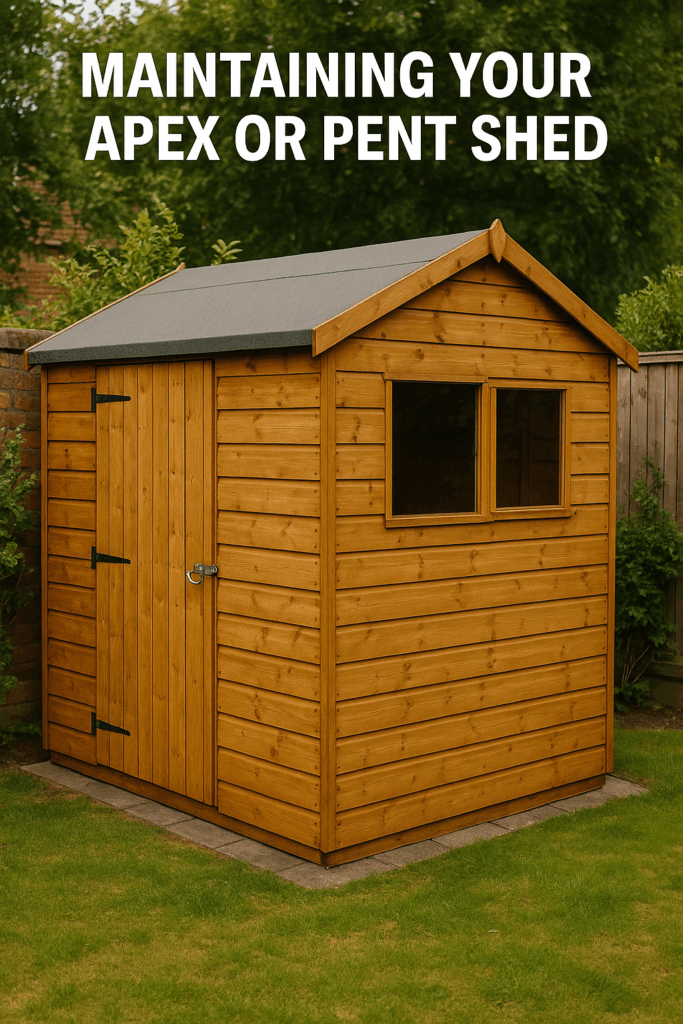
An apex shed offers fantastic headroom and a classic look, but like any storage space, it can quickly become cluttered and dis organised without a plan. Garden tools, equipment, bikes, and seasonal items can pile up, making it hard to find what you need. Effective apex shed organization not only maximizes your storage capacity but also creates a safer and more functional workspace.
Whether you use your shed primarily for storage or as a workshop, implementing smart storage solutions is key. Let’s explore five practical ways to transform your cluttered apex shed into an organized and efficient space.
Tip 1: Go Vertical – Shelving, Racks, and Hooks
The walls of your apex shed offer prime real estate for storage. Utilizing vertical space is crucial for keeping the floor clear.
Shed Shelving: Install sturdy shelves along the walls. Freestanding units are flexible, while wall-mounted shelves maximize floor space. Consider adjustable shelving to accommodate items of different sizes. Use clear bins on shelves to group smaller items.
Tool Racks: Long-handled tools like rakes, shovels, and brooms are best stored upright. Invest in specialized tool racks or create a simple DIY version with hooks or clips.
Wall Hooks: Use a variety of hooks (heavy-duty for bikes, smaller ones for hand tools) to hang items directly on the walls or on pegboards. This keeps frequently used items easily accessible.

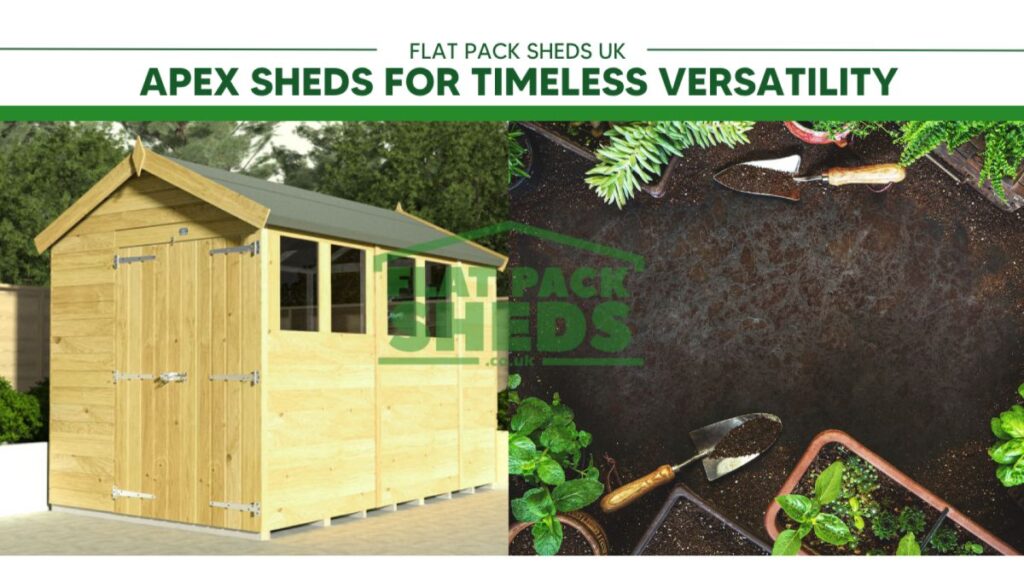
Check out Flat Pack Sheds for shelving options compatible with our apex sheds
Tip 2: Look Up – Utilising Roof Space
The pitched roof of an apex shed creates valuable overhead space that often goes unused.
Loft Shelf: If the roof structure allows, installing a simple loft shelf across the eaves can provide storage for lightweight, less frequently used items (e.g., seasonal decorations, empty plant pots).
Ceiling Hooks: Heavy-duty ceiling hooks can be used to hang items like bicycles, ladders, or even kayaks, freeing up significant floor space.
Overhead Racks: Specialized overhead storage racks can be installed between the roof trusses for storing longer items like timber or pipes.
Ensure any overhead storage is securely installed and doesn’t overload the roof structure.
Tip 3: Create Zones for Efficient Workflow
Dividing your shed into distinct zones based on function can dramatically improve organization.
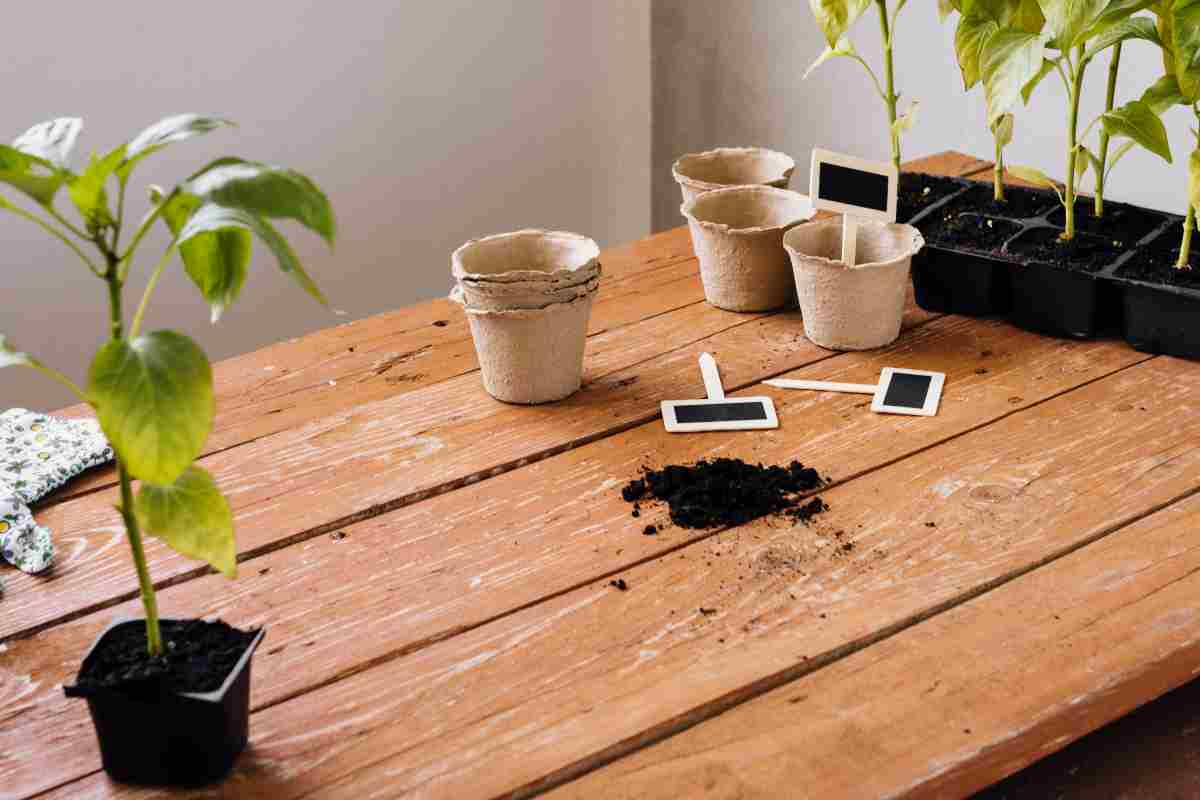
Gardening Zone: Keep pots, compost, hand tools, and watering cans together near the door for easy access.
Tool Zone: Designate an area for larger tools, power tools, and DIY supplies.
Storage Zone: Use the back or less accessible areas for items you don’t need frequently (e.g., seasonal furniture).
Workspace Zone: If using the shed as a workshop, dedicate a clear area for your workbench.
Use floor markings (tape or paint) or different types of shelving to visually separate the zones.
Tip 4: Incorporate a Workbench or Potting Table
Even if primarily used for storage, a small workspace can be invaluable.
Workbench: A sturdy workbench provides a surface for DIY tasks, tool maintenance, or potting plants. Look for options with built-in drawers or shelves for extra storage.
Fold-Down Bench: If space is tight, a wall-mounted fold-down workbench is an excellent space-saving solution.
Potting Table: For gardeners, a dedicated potting table with soil storage underneath keeps messy tasks contained.
Position your shed workspace near a window for natural light if possible.
Tip 5: Improve Lighting and Accessibility
An organized shed is useless if you can’t see or reach what you need.
Lighting: Install good lighting. Battery-powered LED strip lights are an easy option, or consider having mains power professionally installed for brighter, more permanent solutions. Natural light from windows is also crucial.
Clear Pathways: Ensure there are clear pathways to access all areas of the shed. Avoid blocking the doorway.
Labelling: Label shelves, bins, and drawers clearly so you can quickly identify contents.
Regular Purge: Periodically declutter your shed, getting rid of broken tools, old paint, or items you no longer need.
Conclusion: Reclaim Your Apex Shed Space
By implementing these shed storage ideas you can transform your apex garden shed from a cluttered dumping ground into a highly functional and organized space. Utilizing vertical storage, creating zones, adding a workspace, and improving accessibility will make finding tools easier, protect your belongings, and make your shed a more pleasant place to be.
Ready to start organizing? Explore our range of apex sheds and consider adding shelving or workbench options to get your organization journey started right!